Tech: Radio Case


In a flashback to 2014 and my (slightly) safer PC construction attempts we have a more-photos-than-words look at fitting a PC inside an old radio case.

As there was/is something I find intriguing with the design of old radios it is no surprise that during a car boot visit I spotted an old radio (with broken internals) that I decided to purchase. The goal here was simple:

  • Remove the broken insides
  • Sand it to remove the old varnish/stain/smell of smoke
  • Stain/varnish to improve how it looks
  • Fit my existing PC inside it
  • Have a quirky-looking PC

With all that in mind, lets get to the pictures!
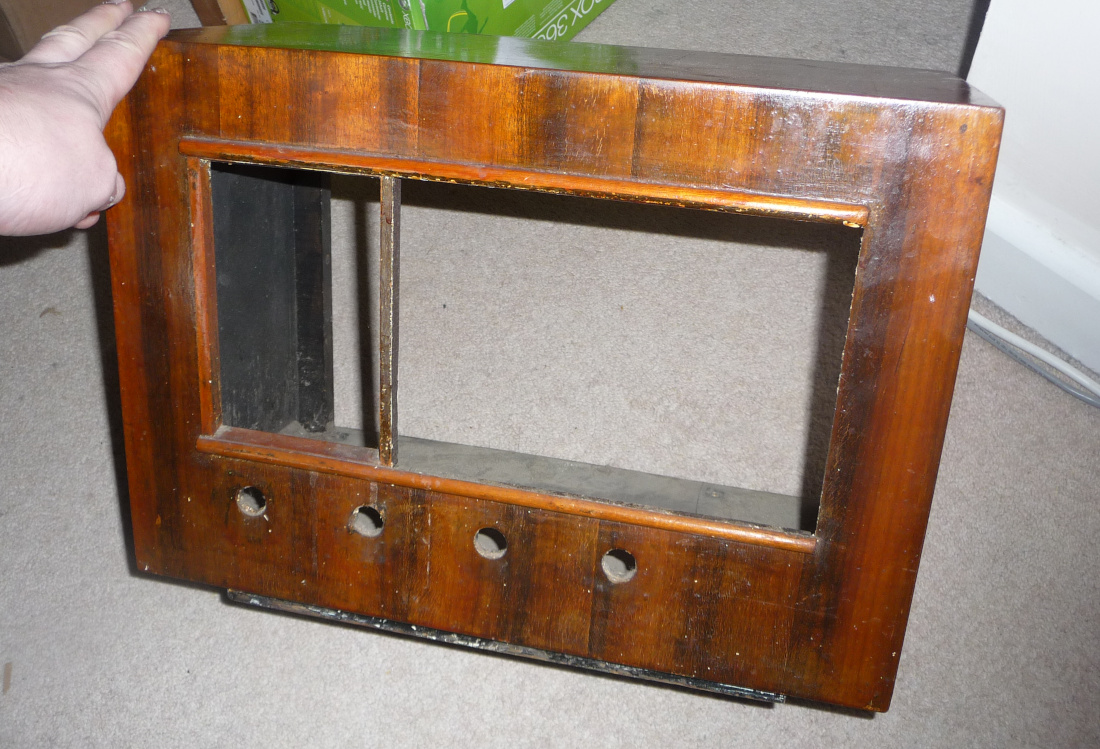
Front of an old wooden radio case with the glass and knobs removed
The shell of a classic radio (with the glass and knobs removed)

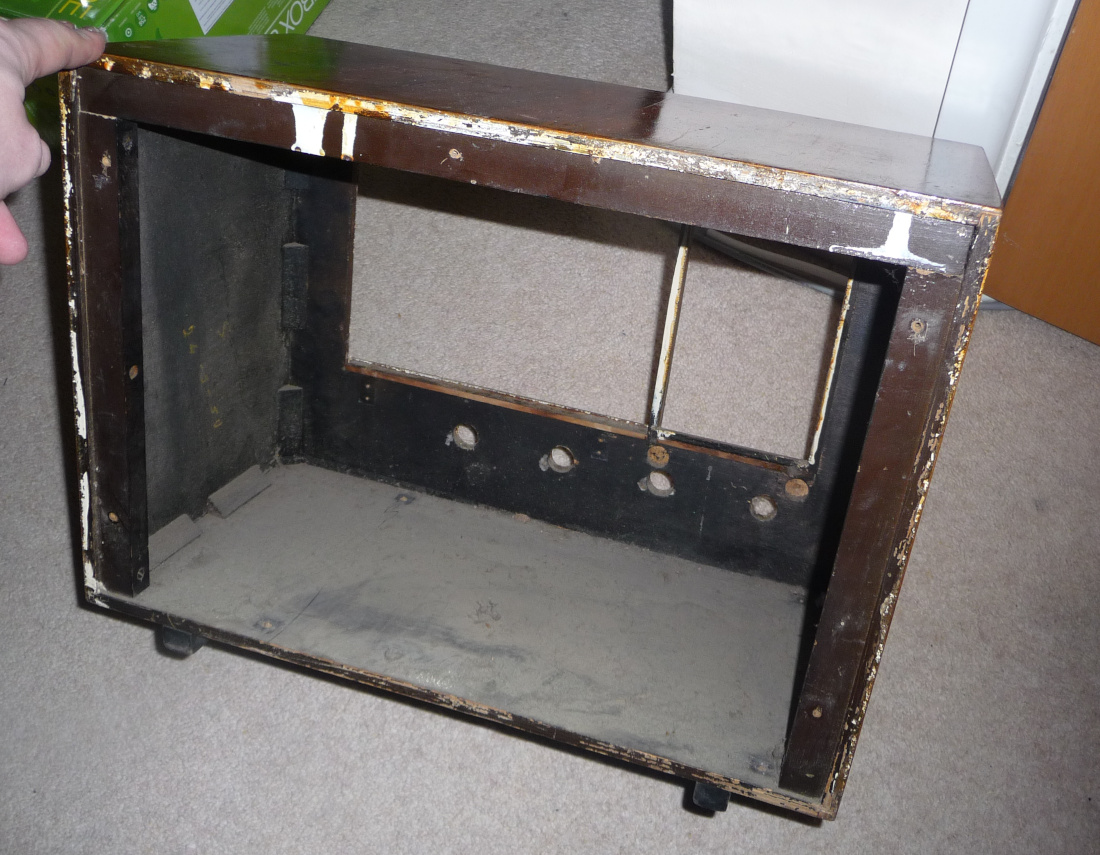
Inside the empty radio case, showing worn wood and dust
Despite its age it was still in relatively good condition

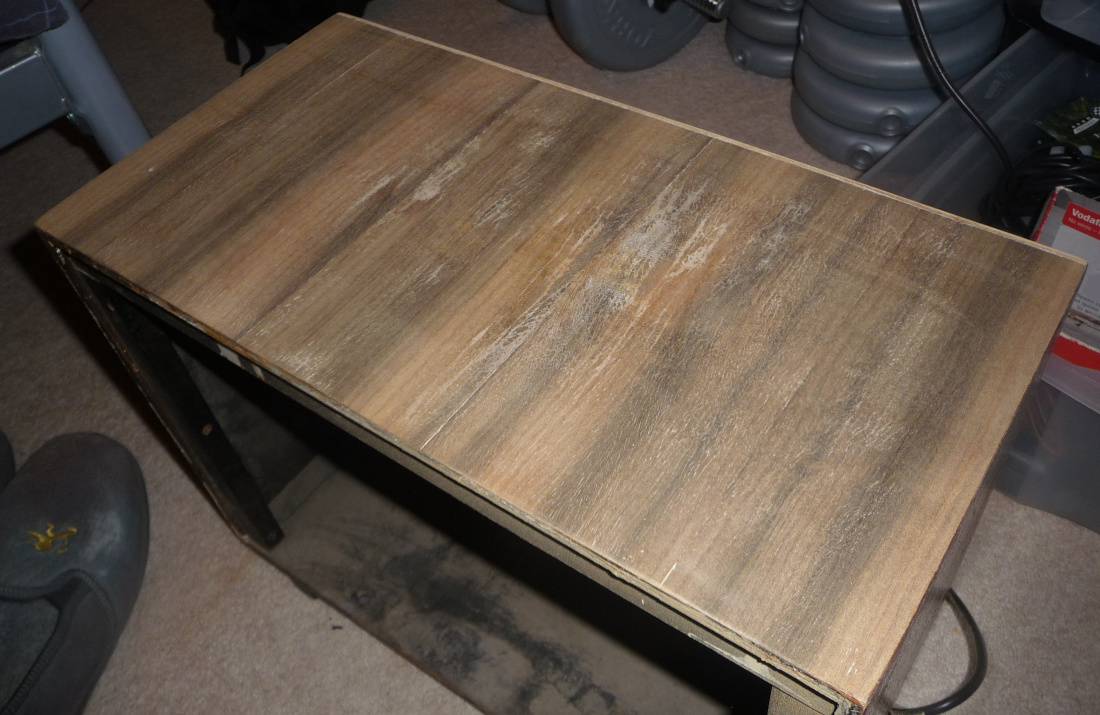
Top of the radio case sanded back to bare wood
After an exterior sand to remove the varnish (ready for staining)

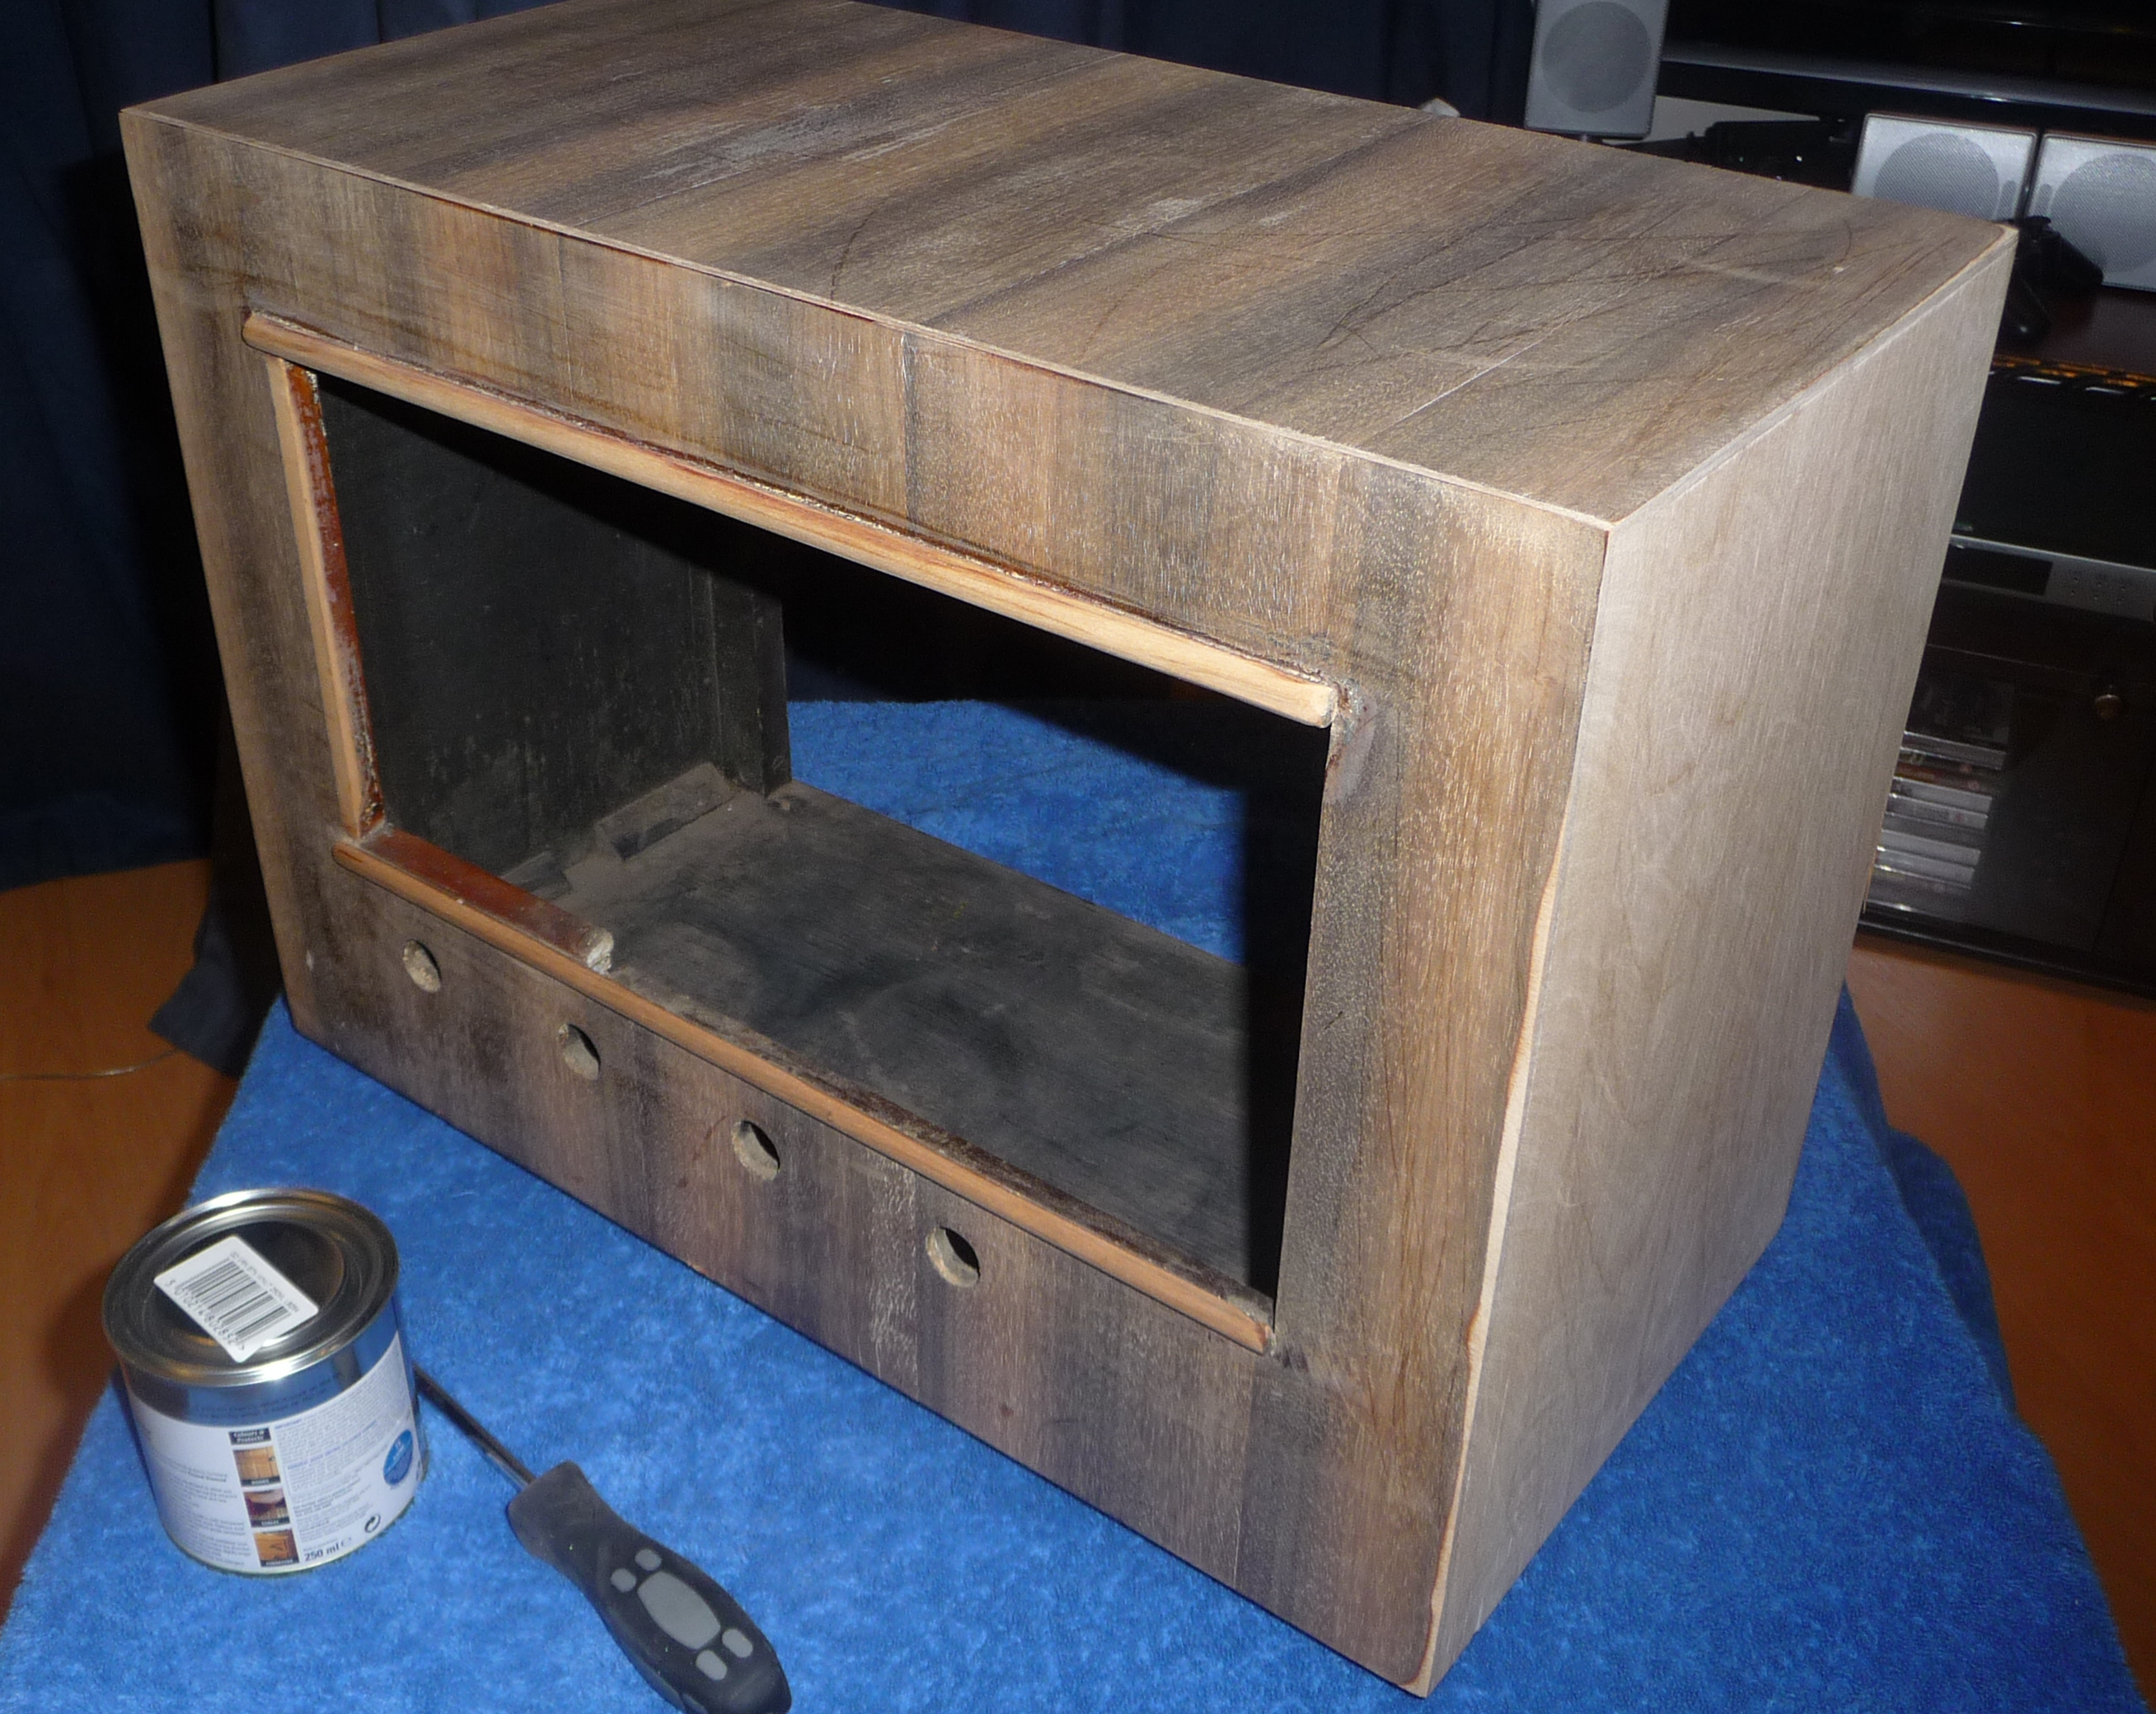
Sanded radio case on a blue towel next to a tin of wood stain
More of the exterior sand (showing the bits that I missed)

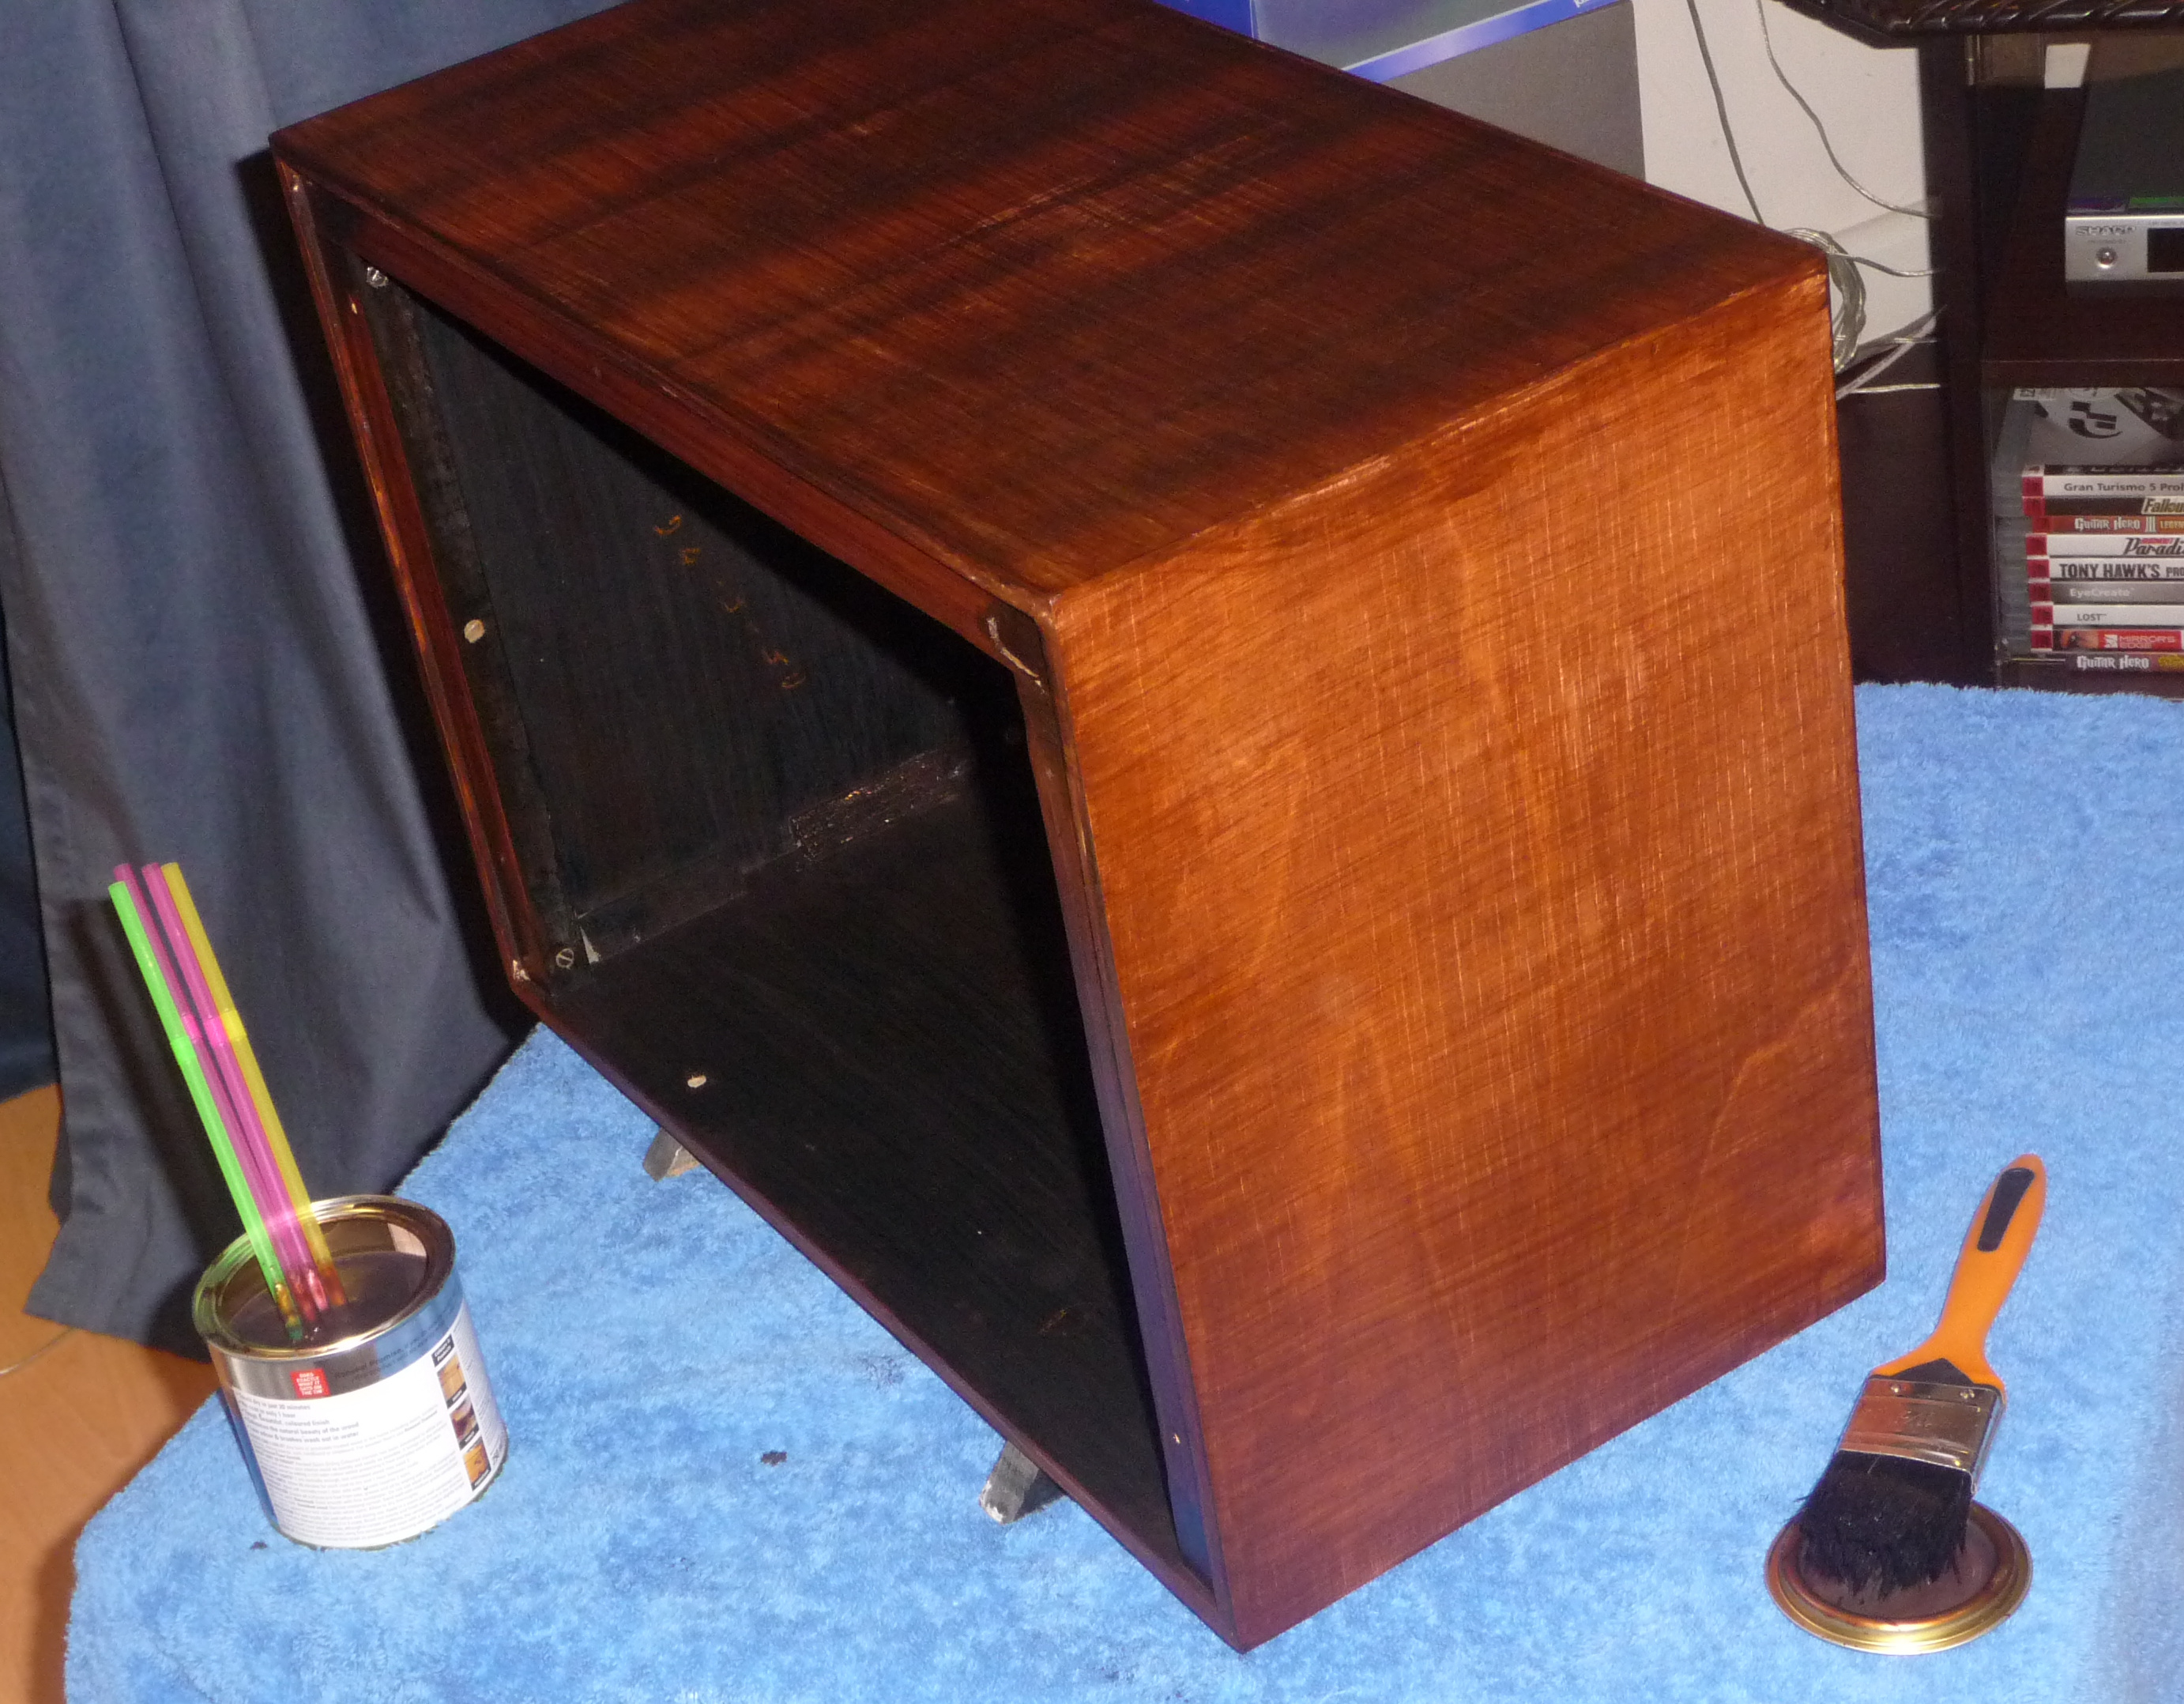
Radio case stained a reddish brown, with a paintbrush and tin beside it
Stained and varnished, both better looking and smoke-free

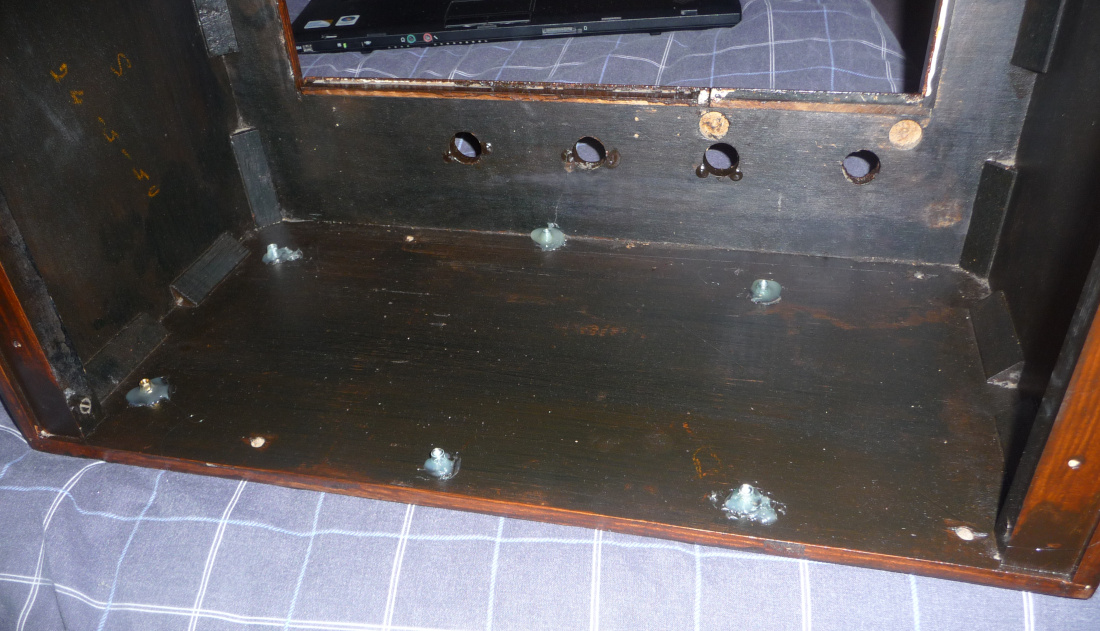
Floor of the radio case with motherboard mounts glued in place
Glued-on motherboard screw mounts (they were also screwed into the wood)

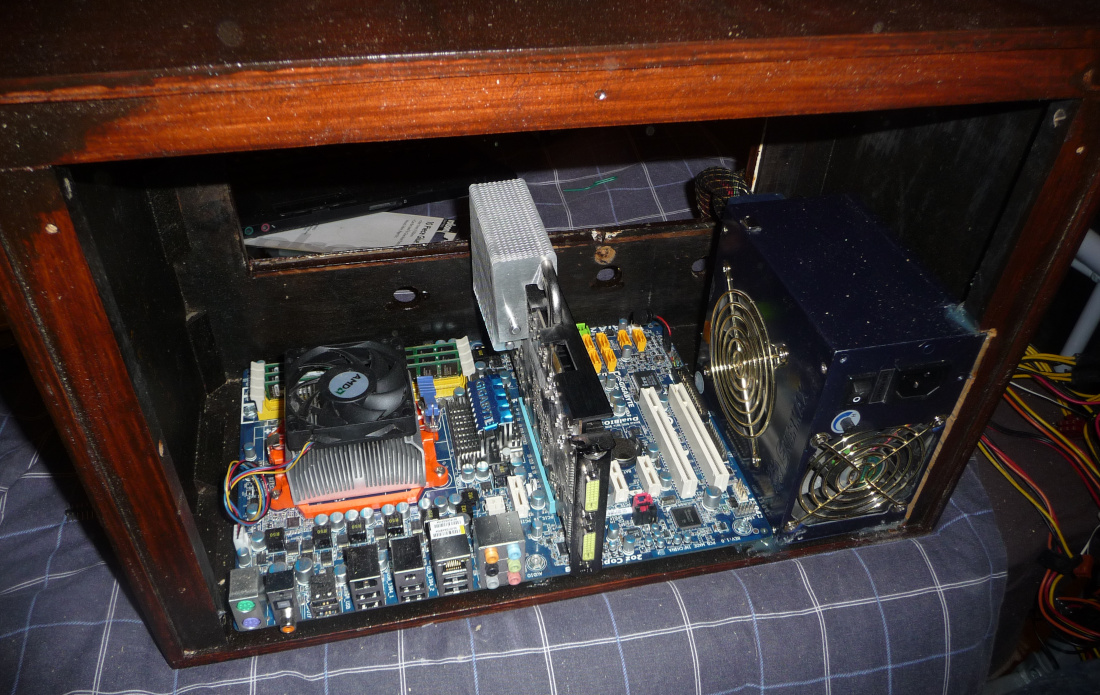
Motherboard and power supply mounted inside the wooden radio case
The motherboard and PSU fitted (cables to be routed later)

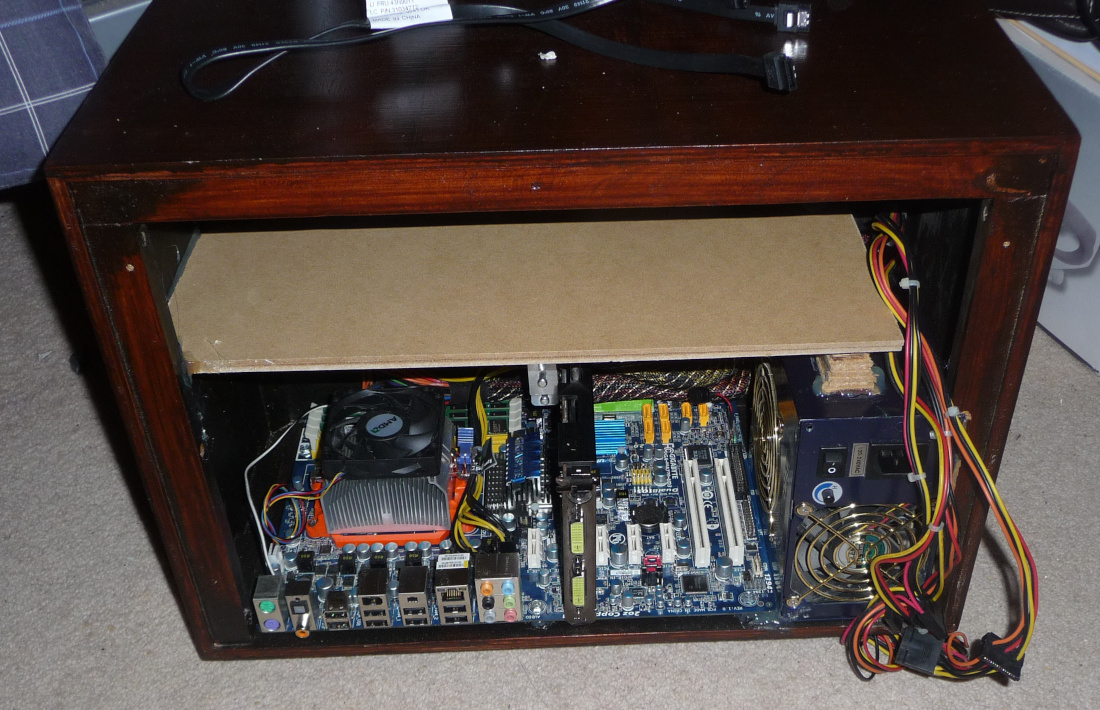
Radio case with a wooden shelf fitted above the motherboard
Shelf added (for the drives etc)

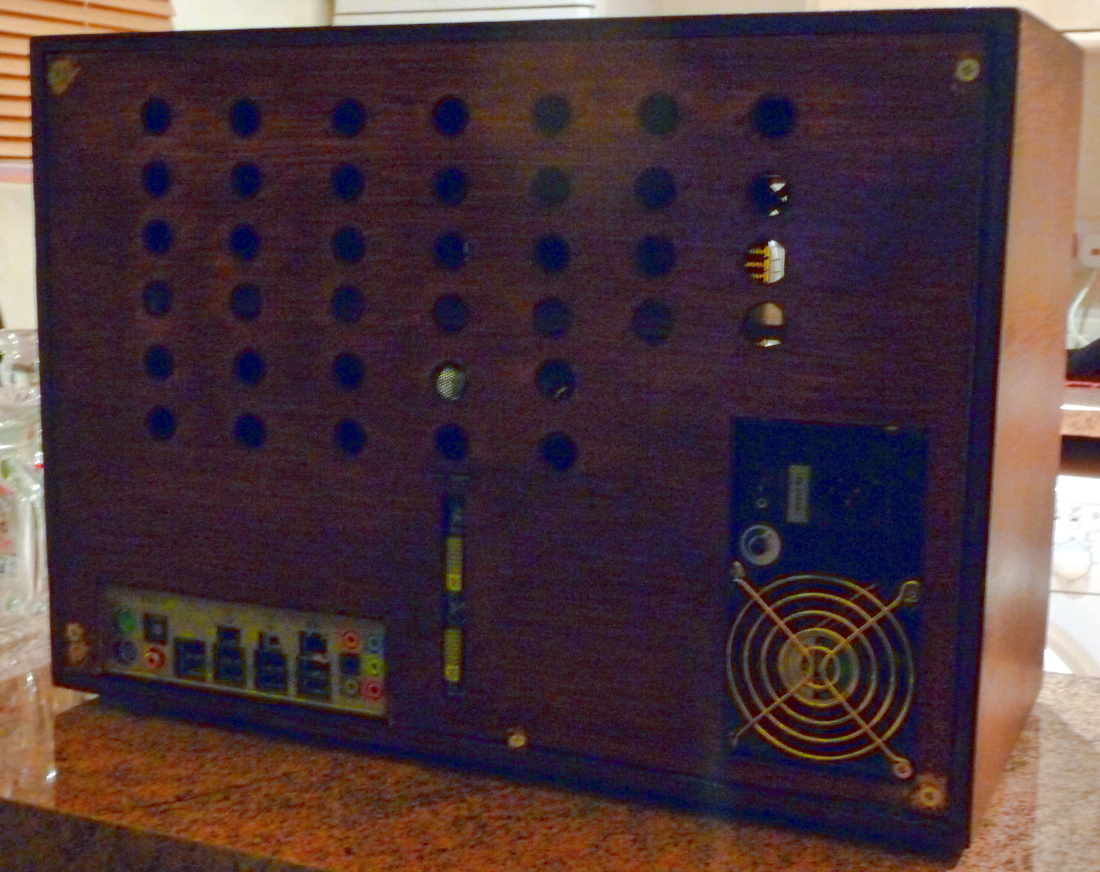
Back of the radio case with rows of drilled vent holes, the motherboard ports and a fan
The rear of the case (with added vent holes)

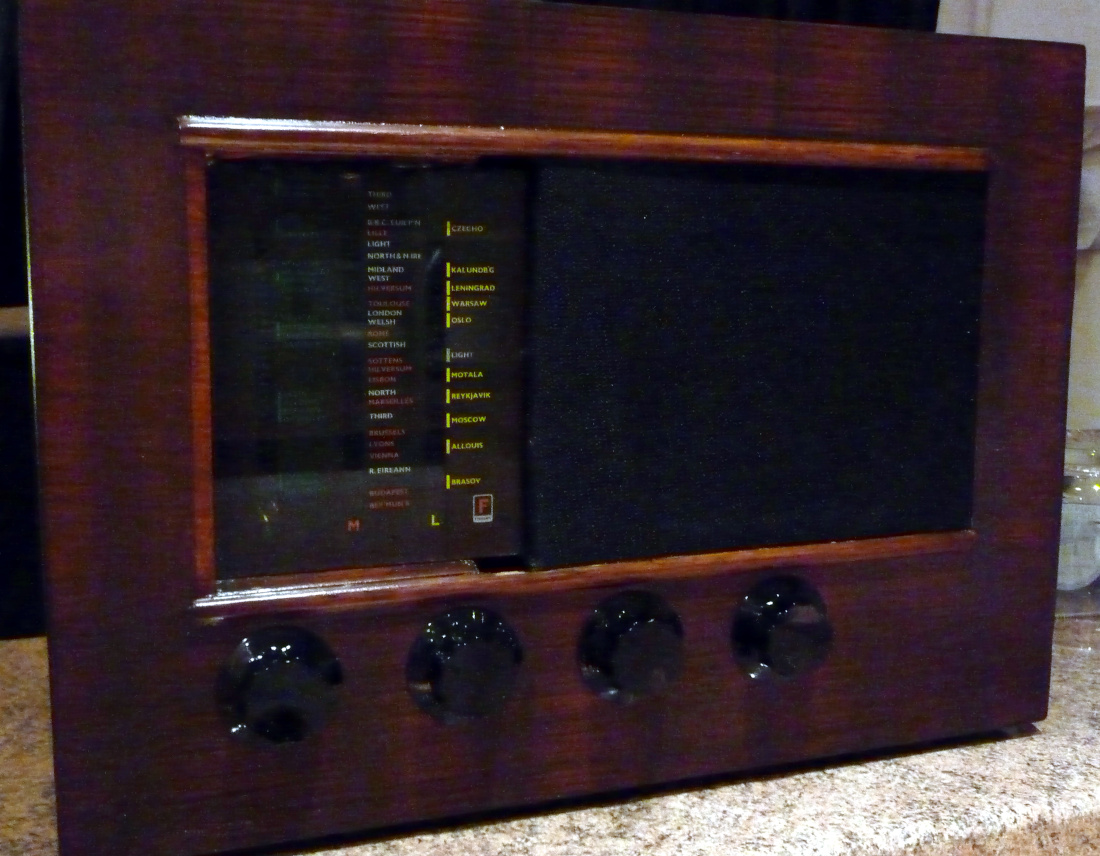
Finished radio-case PC from the front, with the original dial glass and four black knobs
The finished system (including a new fabric mesh hiding a large fan)

I really enjoyed creating this case however it didn't last more than a few months as there were a few things I really didn't like / should have done better:

  • The timber trim at the front (beneath the glass) was broken during disassembly
  • I never added subtle lights behind the glass to show when the PC was running
  • The small bits I missed when sanding did stand out if you looked at the front
  • The vent holes on the back were rushed and weren't straight

Hindsight is useful, and looking back I would definitely have approached it differently. That said, it did make for amusement at LAN parties :-)